Wowza!
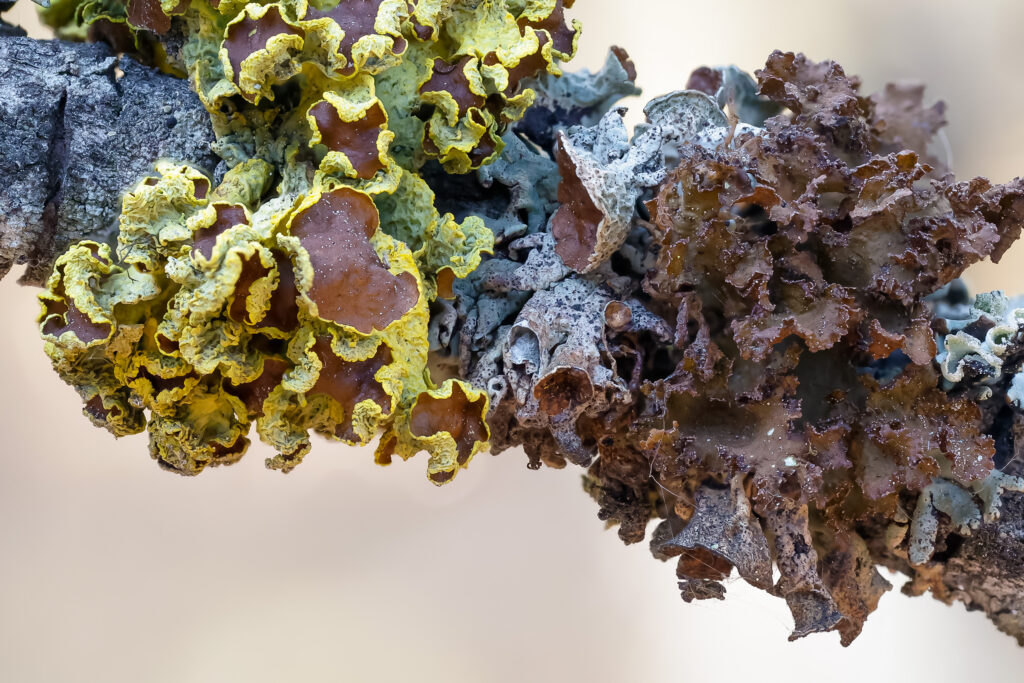
Notice below how the entire photo of a yellow Brown-eyed Sunshine Lichen (Vulpicida canadensis) is sharp and in-focus. It came out of my new Canon R6 mark ii as a jpeg with only minor adjustments in Photoshop, the end product of a process named photo stacking. Process is a composite of 30 images (the action of focus bracketing) with resulting photos focus stacked, all done in-camera! Process is straightforward and easily completed in minutes outside of initial set-up. Now what’s the big deal? Well it wasn’t always like this.
Context
What is focus stacking?
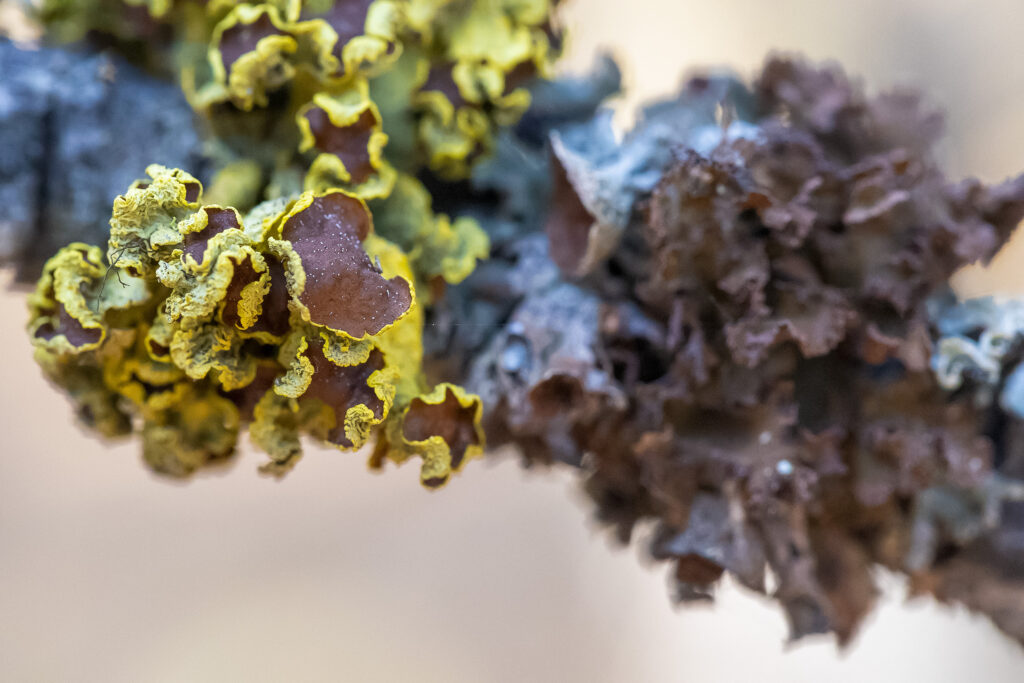
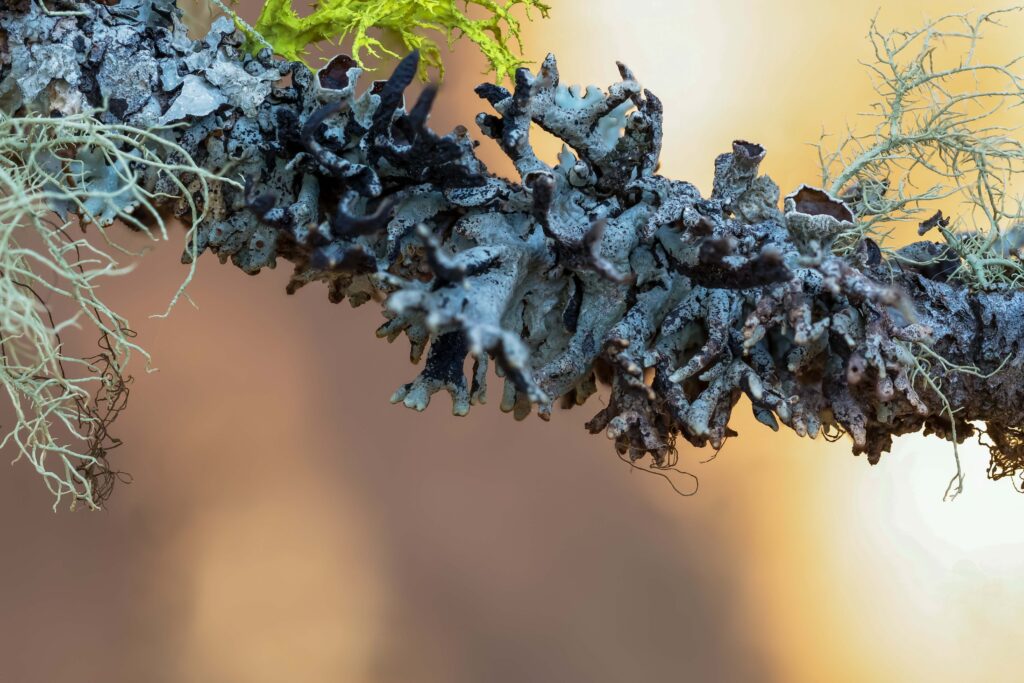
Many macro-lichen are notoriously and strongly three dimensional in form. Try getting everything in focus and super sharp with a single photo using a tripod, not! Setting up a camera with an aperture having a large depth of field isn’t enough, sharpness issues result. The work around was and is now focus stacking. Focus stacking is two parted: a) focus bracketing is a series of images with incremental changes in focus distance i.e. a focused slice of the subject and b) focus stacking is the action of “stacking” and aligning (done by software algorithm) bracketed images. The resulting images merged with the sharpest elements retained creating a single image. Nearly ten years ago I tried my hand at the manual version of focus bracketing and subsequent focus stacking.
How was/is manual focus stacking done?
Ten years ago manual bracketing and stacking efforts were difficult and tedious. An automatic feature of this kind, in-camera, was not yet available. At that time I used a Canon 70D/MP-E65mm macro, focusing rail and tripod for this process. Focus was incremental and manual (turning screw of focus rail) working from front to back involving averaging about six shots for stacking. Fingers crossed that lighting was adequate and unchanging with zero to minimal camera and lichen movement. The resulting photos imported into Photoshop and “stacked”. The single composite stacked file created was satisfactory, just not spectacular. The rewards did not seem to match the efforts. Eventually the manual process and hardware set-up fell out of my favor after several attempts doing so. I did not try it again until I recently bought a Canon EOS R6 ii.
History of in-camera focus stacking
First efforts
Jeff Meyer of Camera Jabber posted a history (9-13-2020) of the beginnings of in-camera focus stacking introduced by Panasonic and Olympus. I assume his information current at date of publication meaning that in-camera focus bracketing and focus stacking just introduced circa 2020. He covers extensively the efforts of both camera manufacturers in this regard. Realize “automatic” focus stacking within the camera itself doing the heavy lifting is relatively recent.
Canon makes inroads
Several Canon EOS cameras circa 2020 had automatic focus bracketing and not in-camera focus stacking (Canon Newsletter-How to use focus stacking to capture greater detail 7-29-2020). Author David Clark explained exporting captured images into software (e.g. Photoshop) outside the camera for stacking and a final merged product. In the same article Christian Ziegler found the automatic focus bracketing valuable and much needed:
“I rediscovered focus stacking during the Covid-19 lockdown, while we have all been stuck at home,” he says. “I used this technique [manual focus bracketing and stacking] maybe 15 years ago in Panama for flowers, but it was much more complicated back then.”
Current Canon capabilities
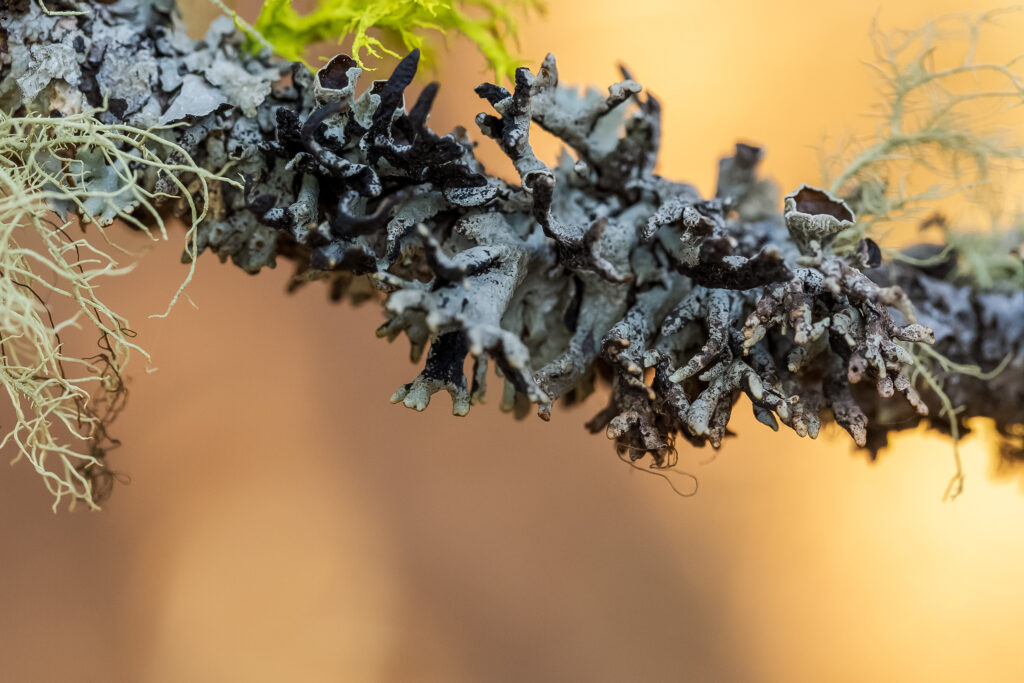
Matt Doogue posted (1-18-24) in the Canon Newsletter Tips and Techniques – Focus Stacking for Beginners and explained the new focus stacking capabilities in EOS R cameras with guidance on how to set up one of these cameras to use it. Matt stated: “The ability to produce a composite image in camera is a real game-changer,” says Matt. “The individual images are saved alongside a depth-composited image, so the result appears immediately.“
Discovering in-camera focus stacking
I bought a R6 mark ii in late October of this year. Visited YouTube on delivery for videos outlining initial camera set-up. A video caught my eye in the column of search results: “How to use Canon’s Focus Bracketing Feature Canon R6 Mark II R7 R8 and others” by Phil Thach Photography. I watched the nine minute video and copied his instructions. Set about plugging in his recommended settings for focus bracketing under the “red camera menu” page 6. The following list (in order of actions) for focus stacking set-up is adapted from his video:
- Open up the Focus Bracketing submenu, consists of six variables to adjust:
- Enable “focus bracketing”
- Set the “number of bracketed shots” wanted, Phil recommends 30. Adjust to your subject.
- Set the “focus increment” from 1 to 10 i.e. distance between each photo; Phil recommends 1. Default is 4, 1 is the narrowest “slice” between shots…important for macro work
- Enable “exposure smoothing” for when exposure changes between shots and smoothing fixes this…especially when outside, not in a studio setting.
- Enable “depth composite”…allows camera to create composite jpeg (focus stacking) from bracketed RAW photos.
- Enable “crop depth composite”…allows camera to crop odd artifacts from frame edges.
Canon Knowledge Base – EOS R6 Mark II: Focus Bracketing (posted 7-23-24) has additional advice for setting up camera:
- Cannot use manual focus
- Flash use not available
- Best results have aperture set between f5.6 and f11
- Best results using a tripod with remote switch or timer usage
- Wider angle of view recommended
- Some lens not compatible
Caveat
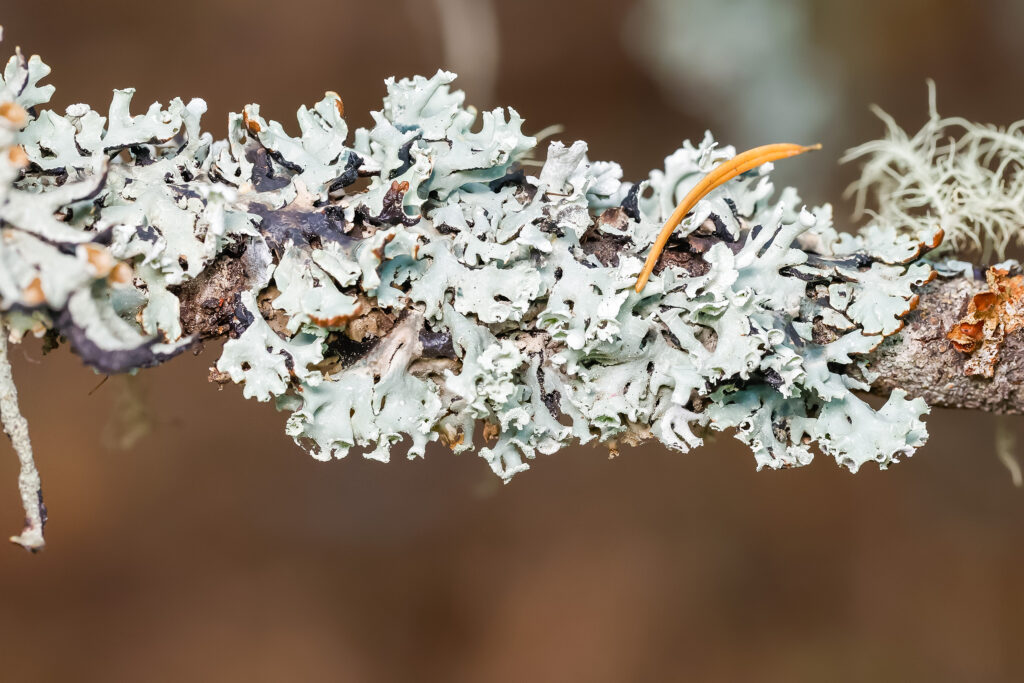
It can be tricky finding and focusing on the closest part of an organism. You might find that a second or third focus bracketing series necessary because nearest point not in focus. This also applies to farthest points; this would need correction via number of bracketed shots. See composite image below.
My Set-up
The photos embedded in this page were created from my first efforts with this process. My set-up:
- EF 100mm f/2.8L Macro IS USM
- Control Ring Mount Adapter EF-EOS R
- Manfrotto BeFree Live tripod with Befree Live Fluid Video Head
Summary thoughts – Adjusting camera simple and straightforward. The camera does all the hard work of bracketing and stacking. Export the bracketed pics to Photoshop (or other software with stacking capability) If you don’t like the jpeg output or looks of composite. Initial results are stunning and a game changer.

